MOONLIGHT
HOW DO I CHANGE MY DECK HATCH?
Replace the old leaky deck hatch with a new, tight and modern one. Wear, sand and water have left their mark on the old deck hatch so now is the time to change it.
Replace the old leaky deck hatch with a new, tight and modern one. Wear, sand and water have left their mark on the old deck hatch so now is the time to change it.
Cut-out size and corner radius must be defined. Choose between Motorboat or Sailboat, and offshore or inshore.
New modern deck hatches have larger and more powerful glass frames, that close down over the inner frame. This means that the hatch stays closed, even when sailing in high seas with water on the deck. Handles and hinges are made of impact-resistant ABS material. Powerful O-rings ensure that the handles stay tight
The white inner frame is made of flexible material, which provides a nice cover against the inside of the deck. It must be mounted against the deck with structural adhesive, at the same time as the hatch frame
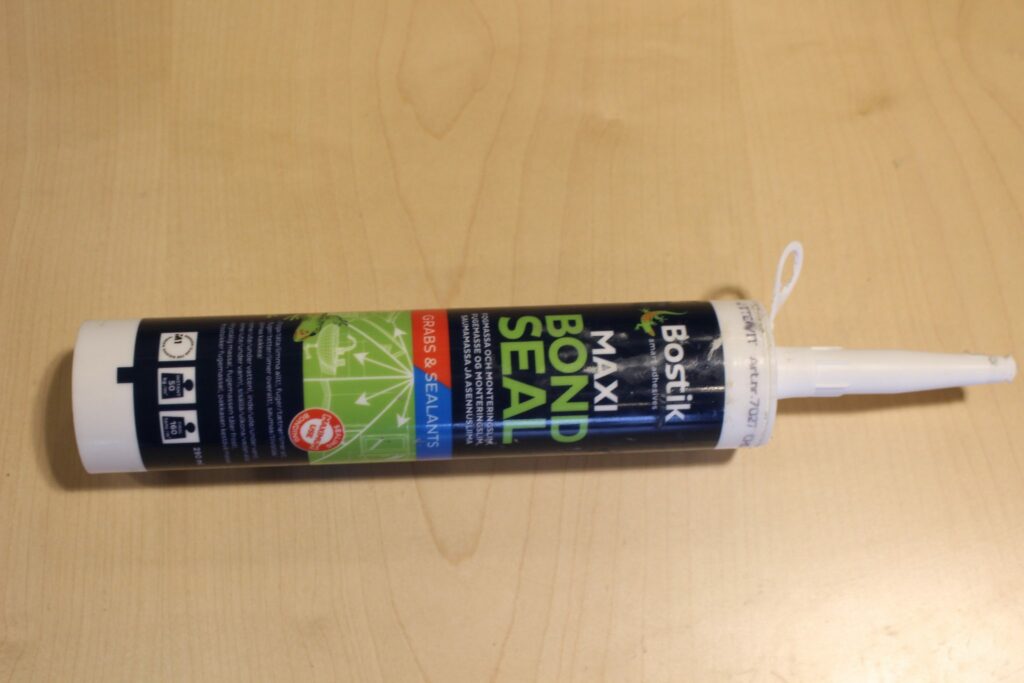
The adhesive does not contain dangerous isocyanates. It binds on degreased metals, gelcoat, fiberglass and plastics above and below the waterline. Hardening time is 3 mm per day. Cannot adhere to plastic with paraffins PP, PE and PTFE.

Unscrew the old inner and outer frame. They are fitted with self-tapping screws both inside and outside.
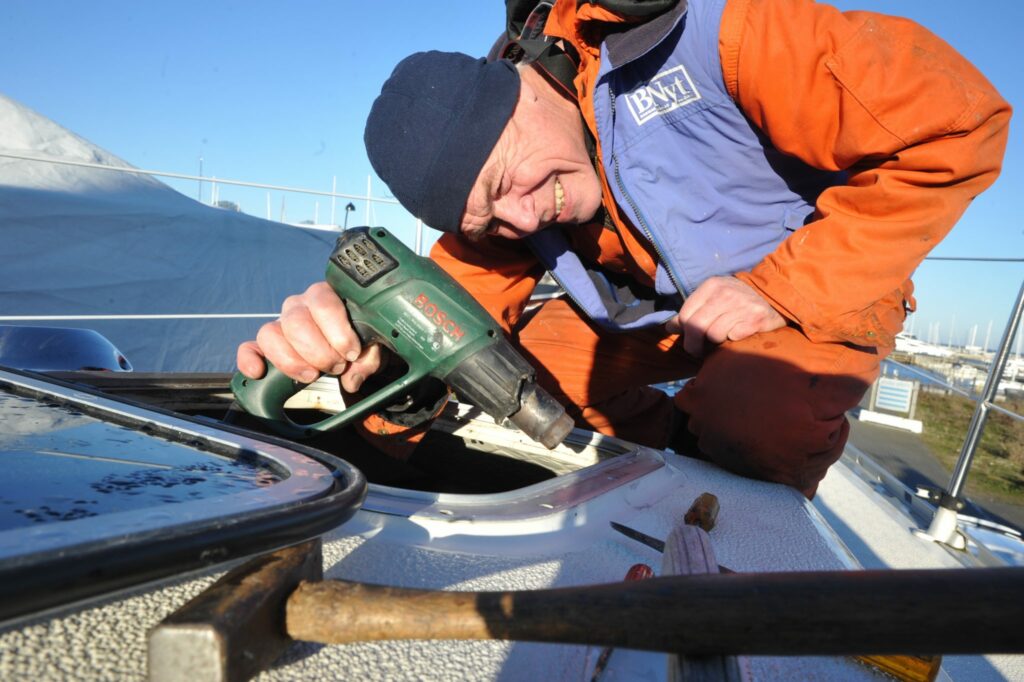
Heat the outer frame with heat gun at low heat. The glue can get stuck where it sticks.
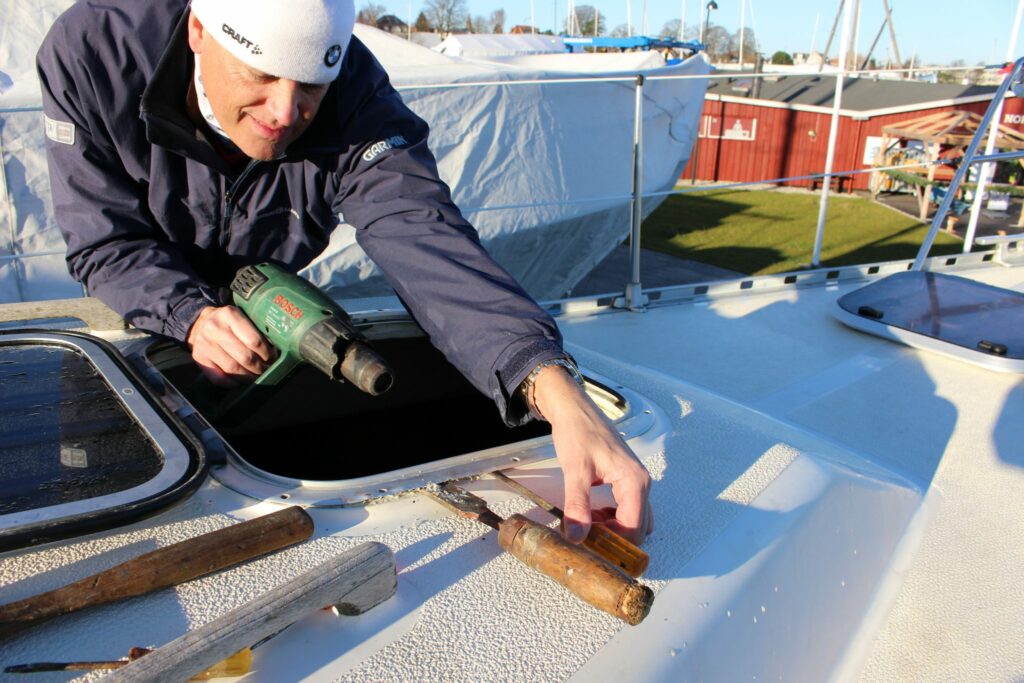
Smoothly press a screwdriver under the frame while heating.
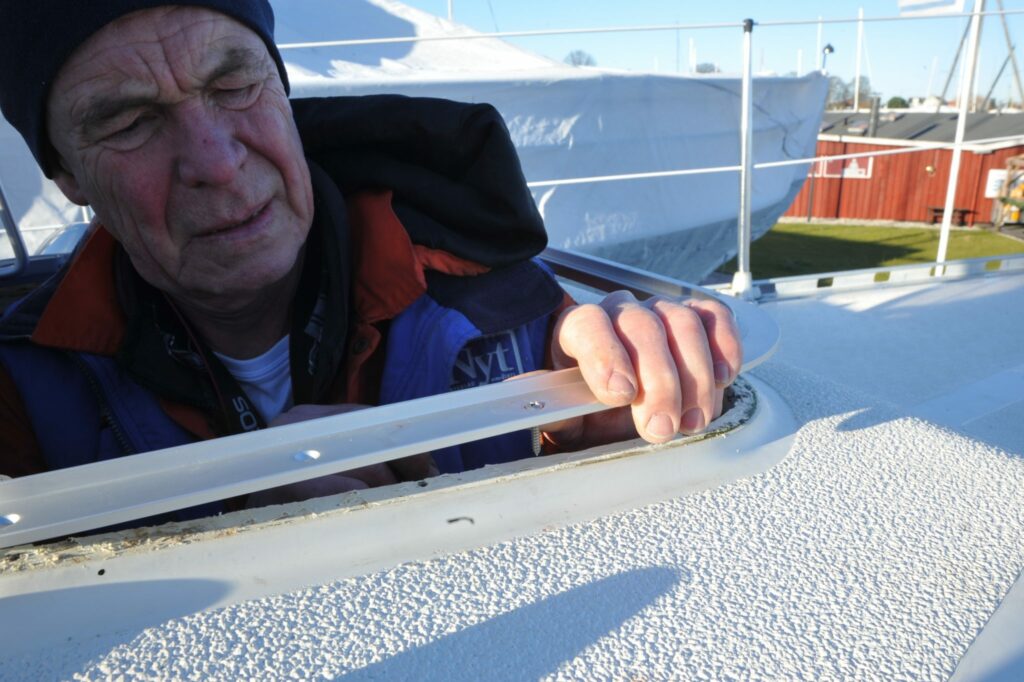
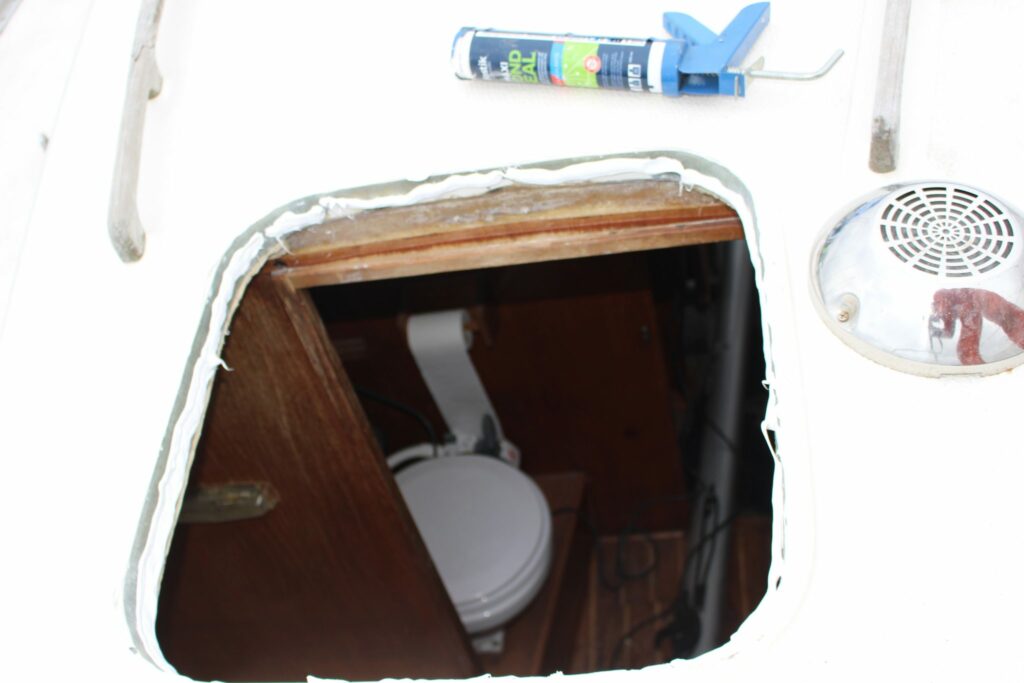
Lift the frame, and take the frame away. The adhesive thus releases the entire frame and can be removed from the cut.
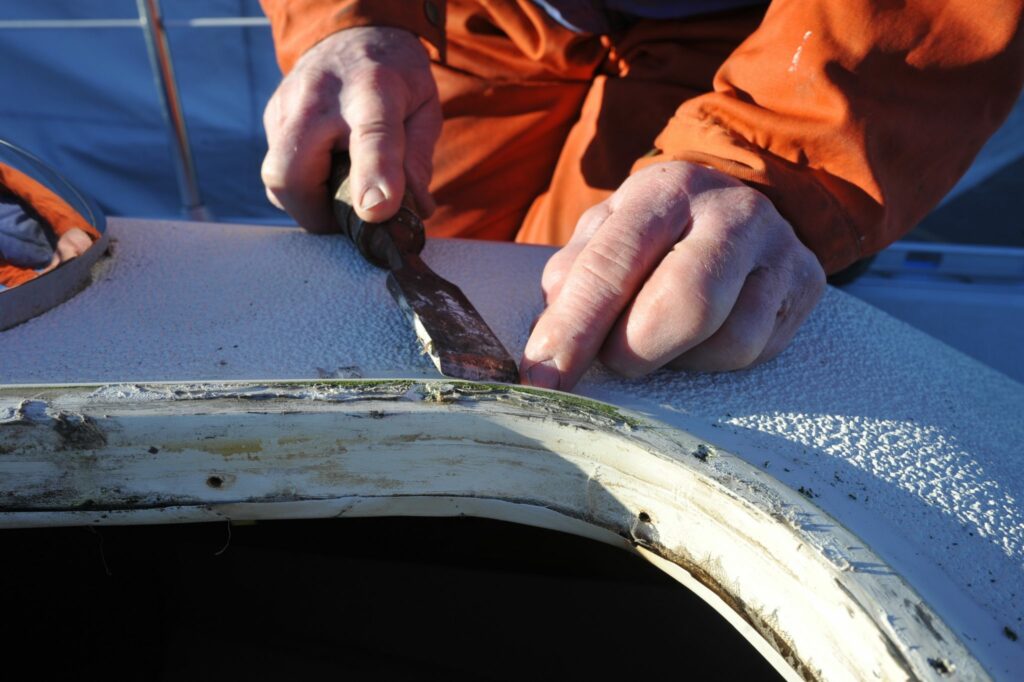
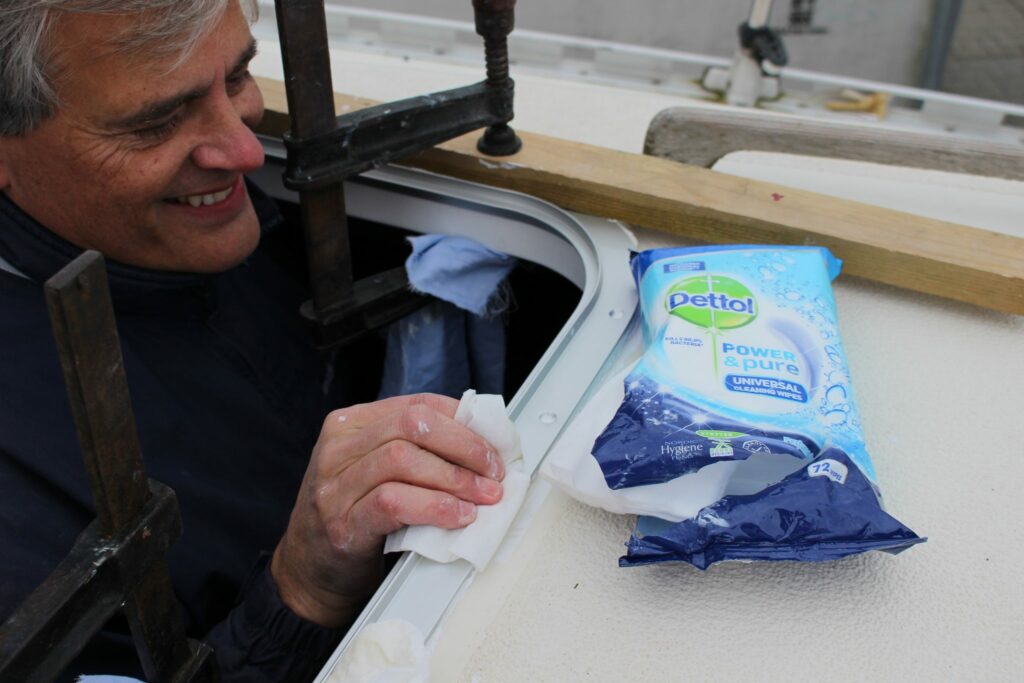
Clean off glue with a scraper. Make sure all glue is gone as the old glue can contain silicone.

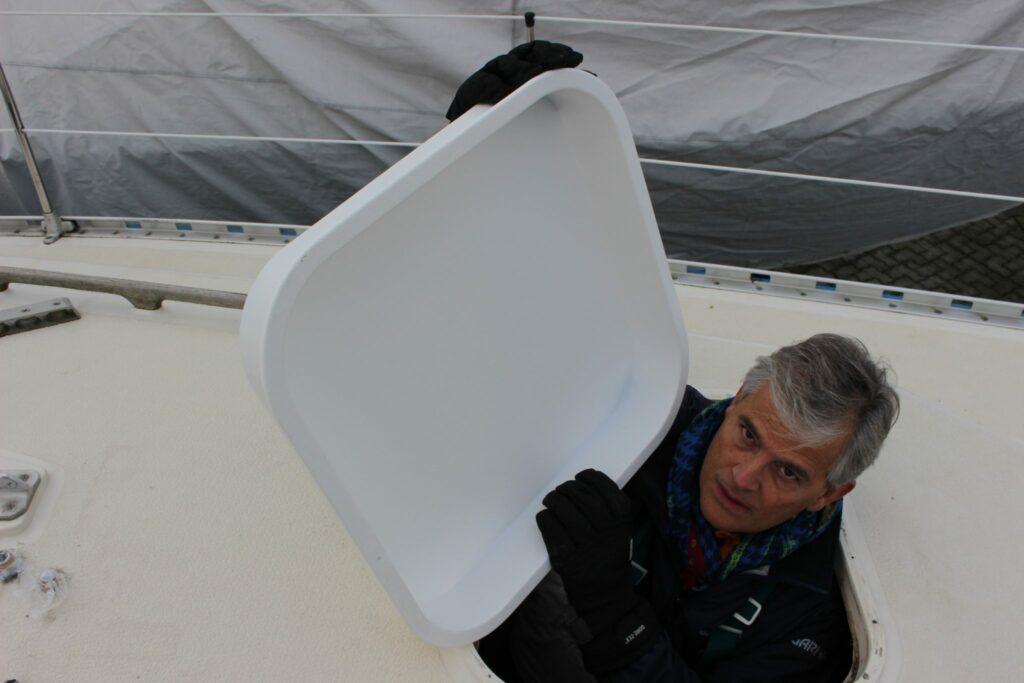
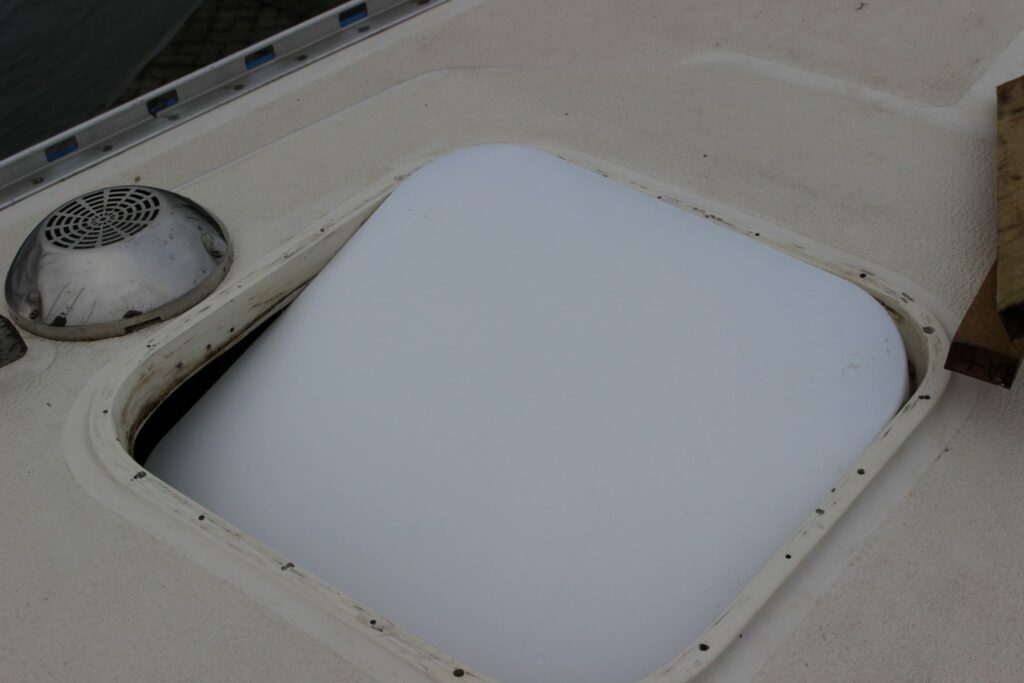
Dry fit the new hatch in the cut-out. There must be a minimum of 3 mm of air all the way to the plastic inner frame.
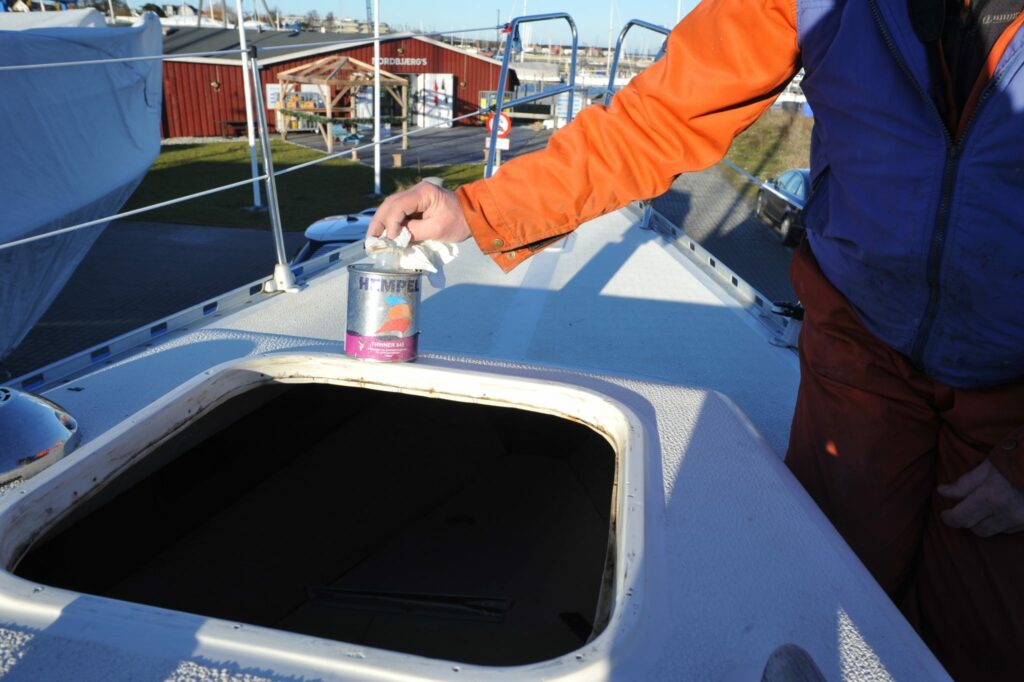
Degrease the frame system with thinner or degreaser. Be sure there is no silicone residue on the surface.
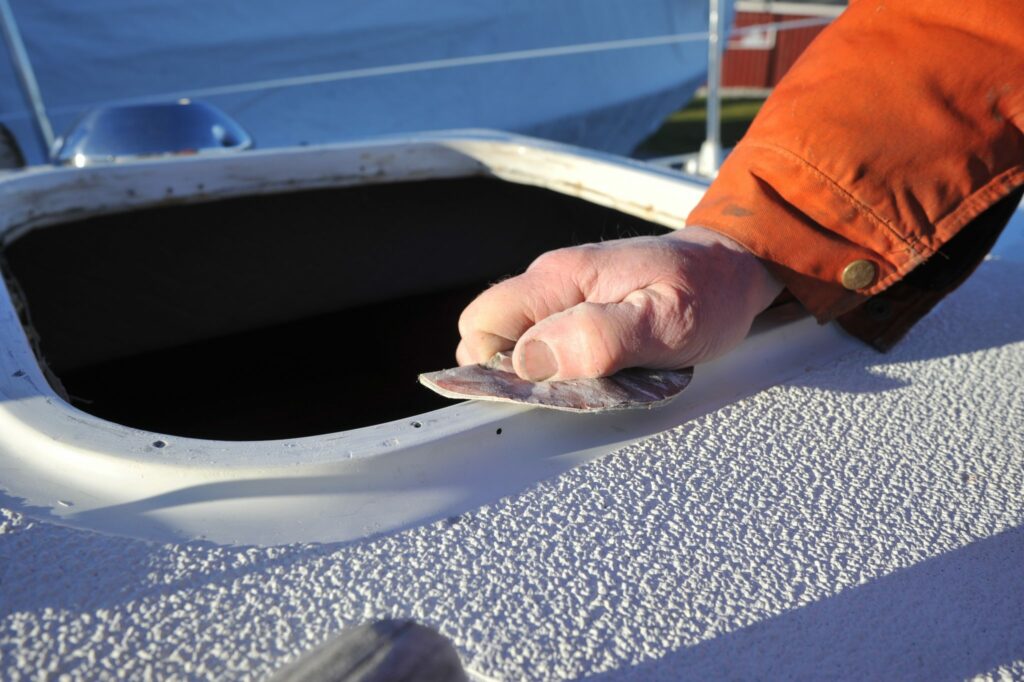
Clean the surface with grain 100 grinding paper.
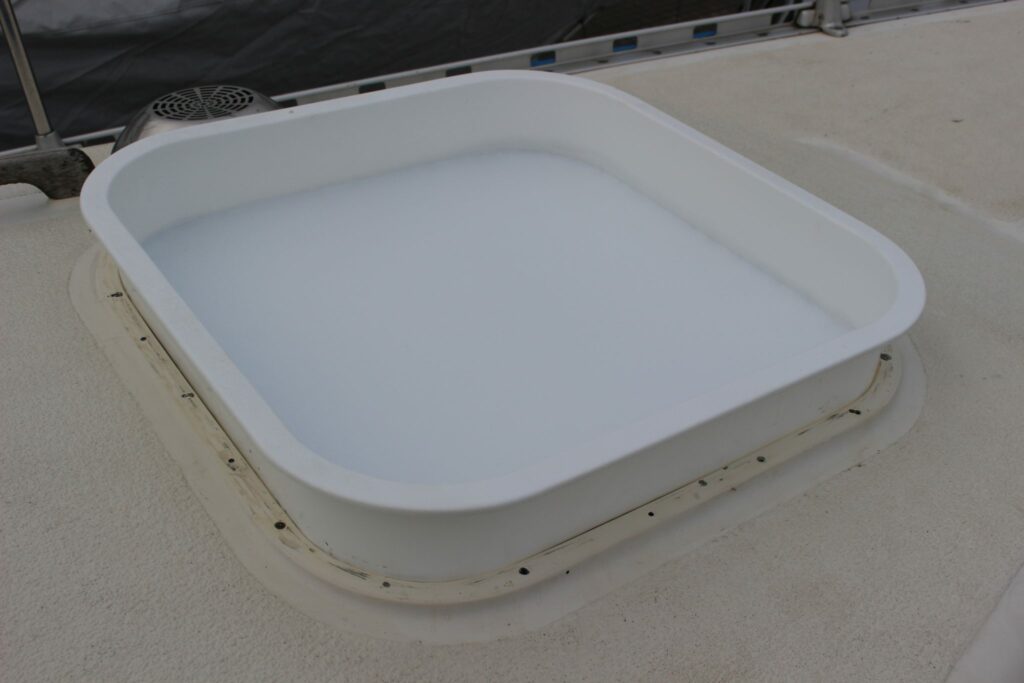
Place the interior frame in the cutout for the old one. There must be a minimum of 3 mm of air around the entire cut.
Mark the abutment surface of the hatch on the inner frame with a pencil, at the top all the way around.
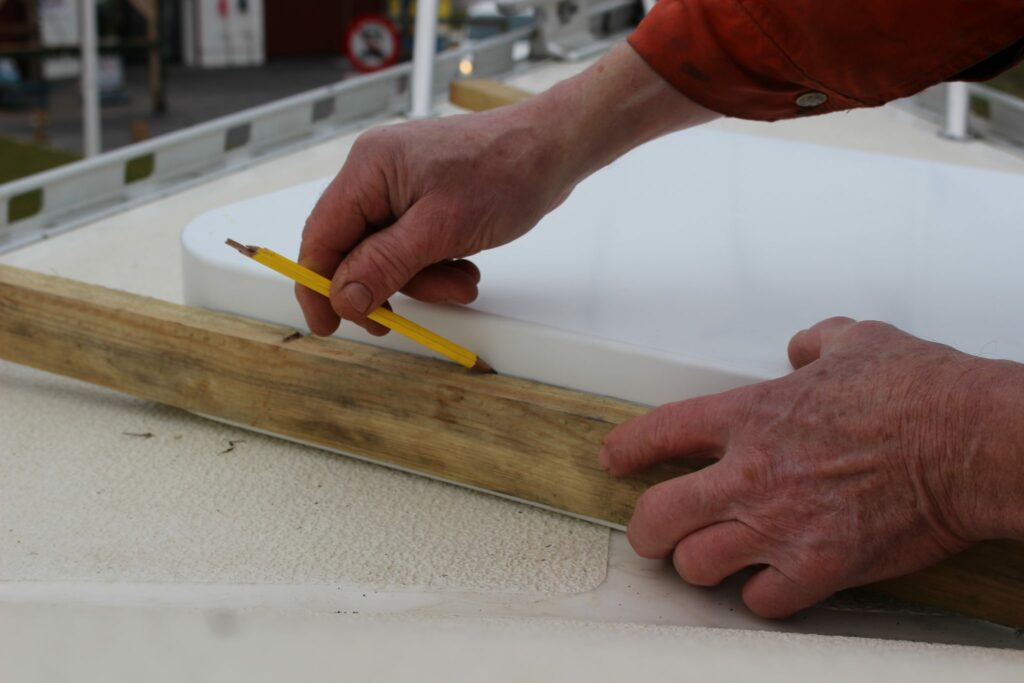
Measure the hatch frame thickness (approx. 10 mm). Deduct this from the hatch thickness (cover thickness plus frame) and place a pencil line around the inside of the frame.
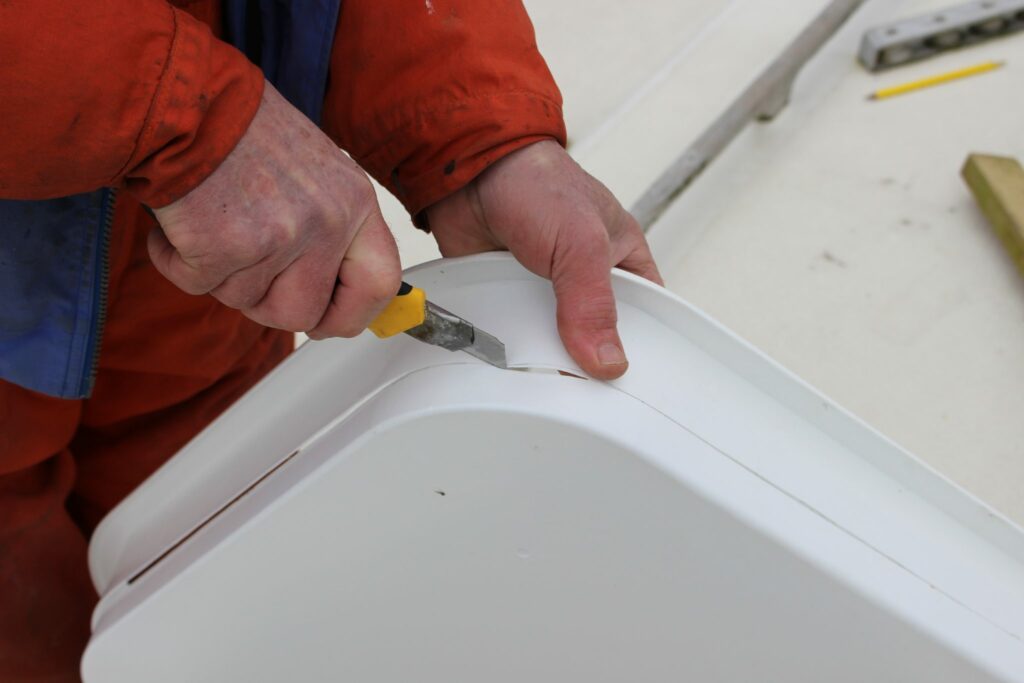
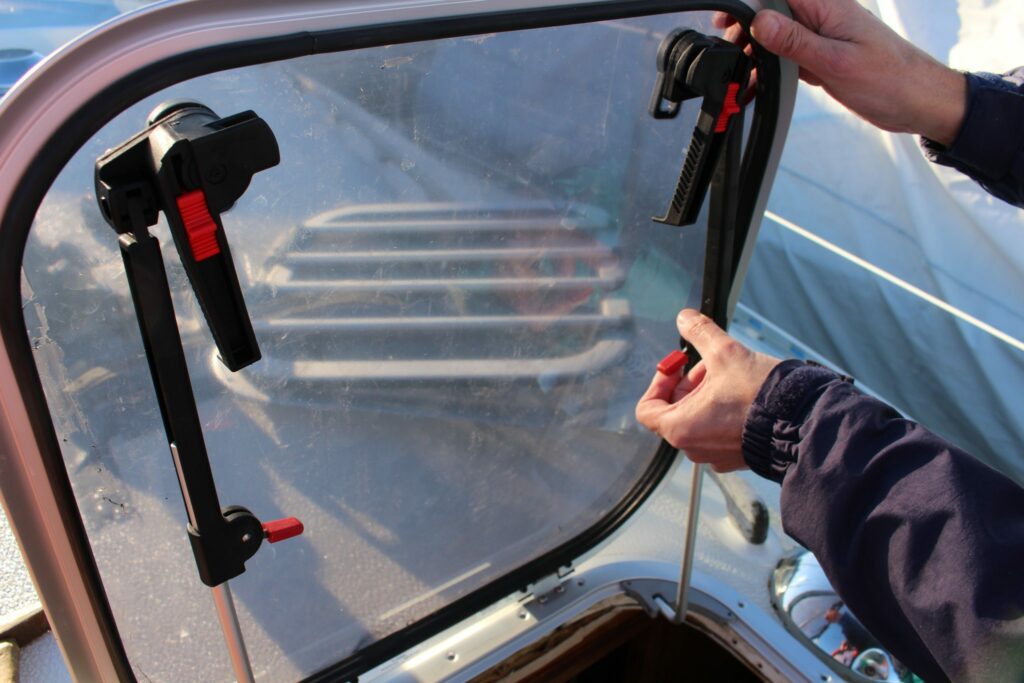
Place a straight-edge guide on the outside of the frame with a pair of fastening tools and cut with a sharp knife. The work is repeated on all sides. Finally, cut corners in freehand
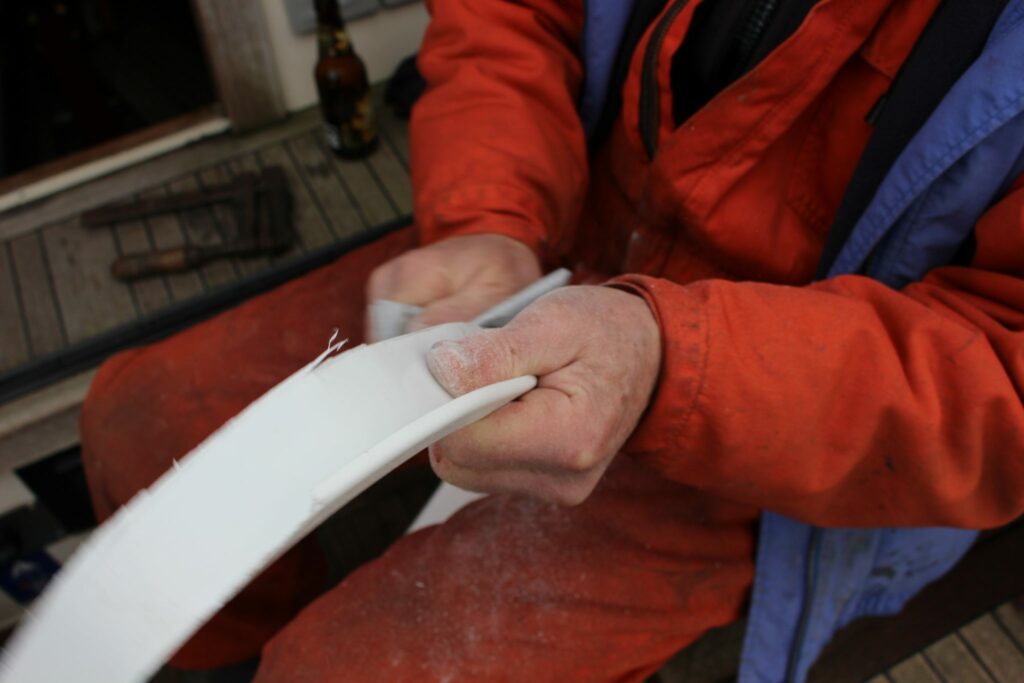
Round the frame for grates with grain 120 grinding paper
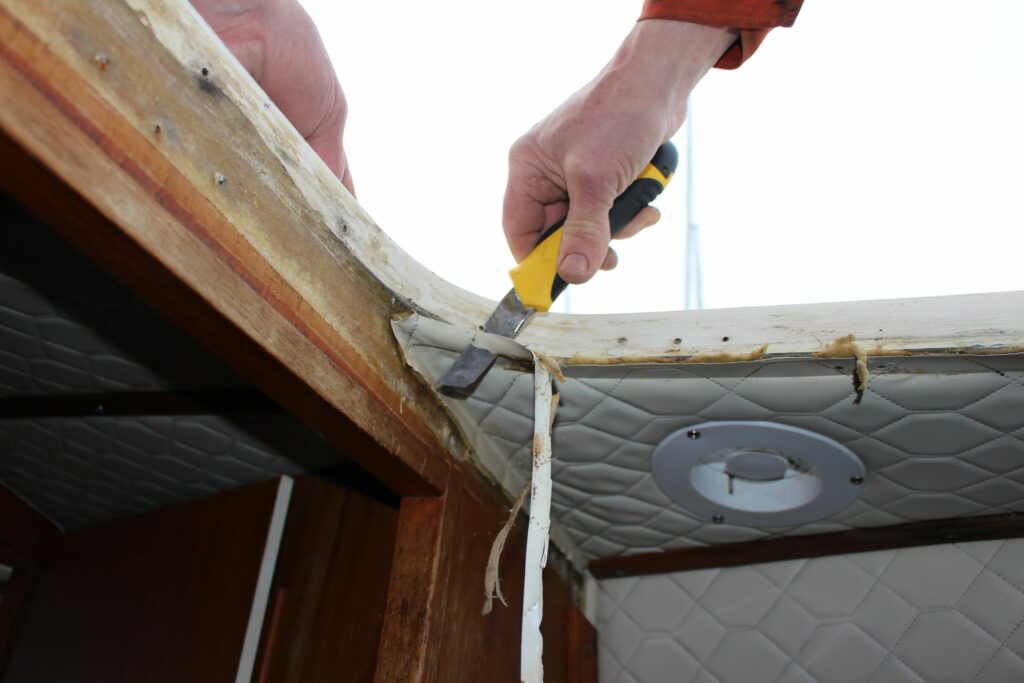
Cut off old inner lining with hobby knife. Make sure the surface is completely exposed.
Insert the new hatch frame into the cut-out and measure the clearance to the cut-out
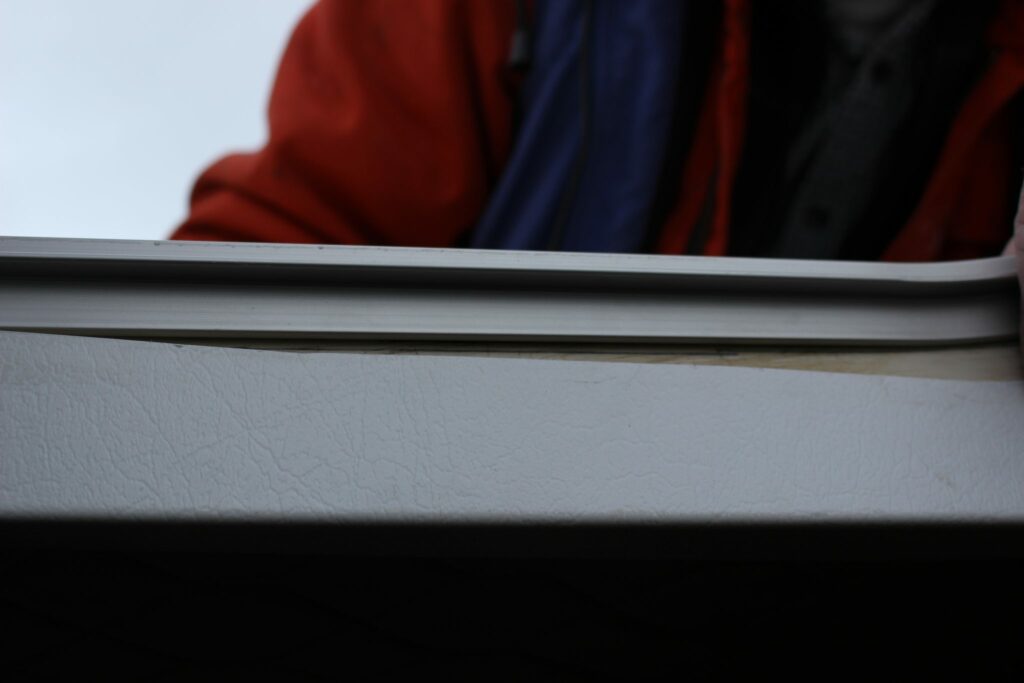
There must be a minimum of 3 mm of air to allow the inner frame to slide up under the hatch frame.
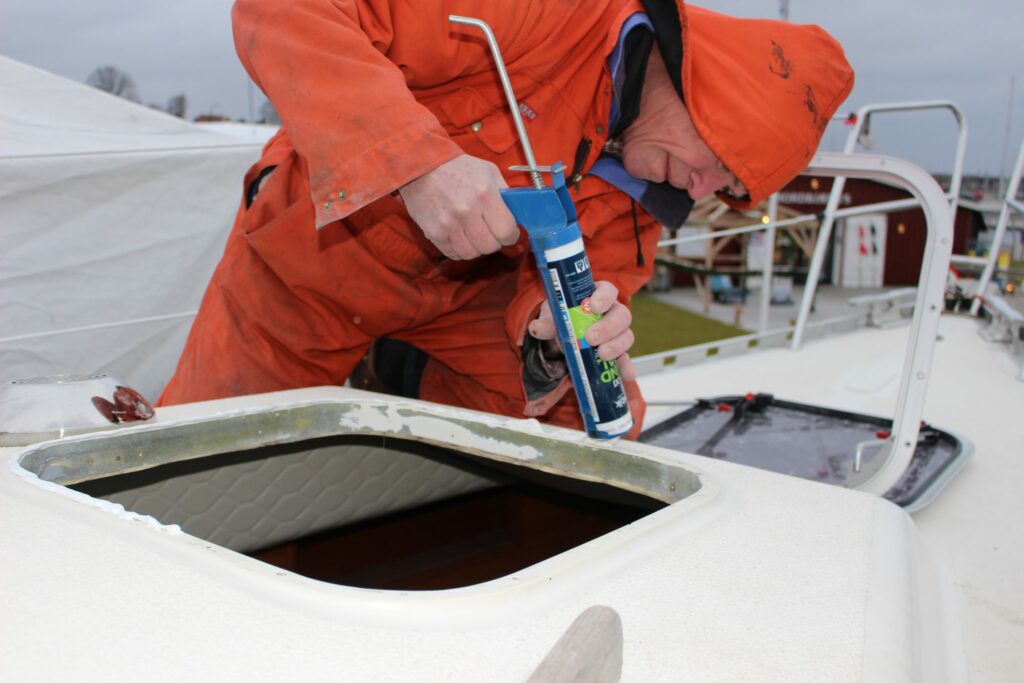
Apply the glue directly to the frame cutout. Min. 3 mm of thickness on the entire frame edge. It is not necessary to apply to the degreased alum frame.
Apply glue so that the inner frame can be held to the cut and at the same time held against the aluminum hatch frame
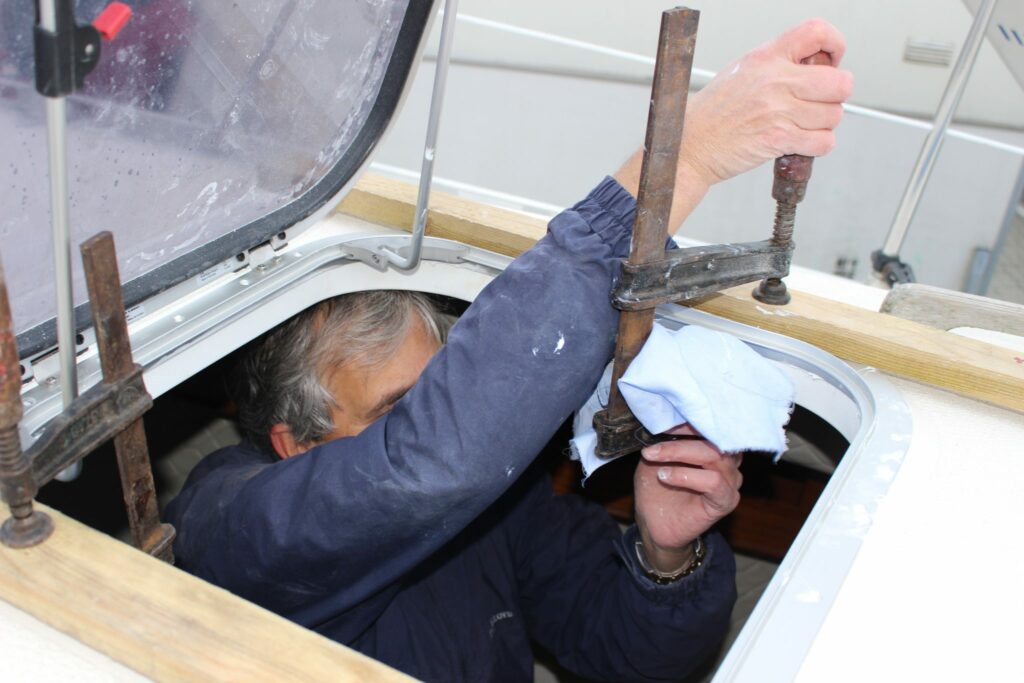
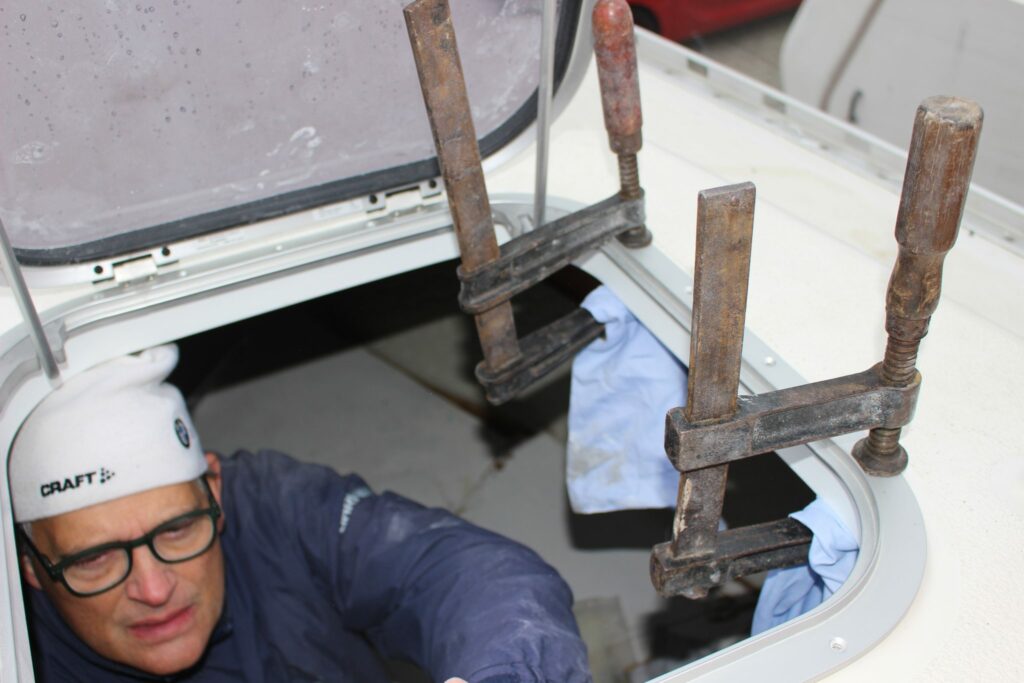
Tighten the aluminum hatch frame and plastic inner frame together with a clamp, to squeeze out excess glue.
Remove the clamp and wipe off the excess glue. Replace the clamp and tighten slightly. Leave the clamp for 24 hours during curing.

Fill the screw holes with white glue and pull flat with a tool
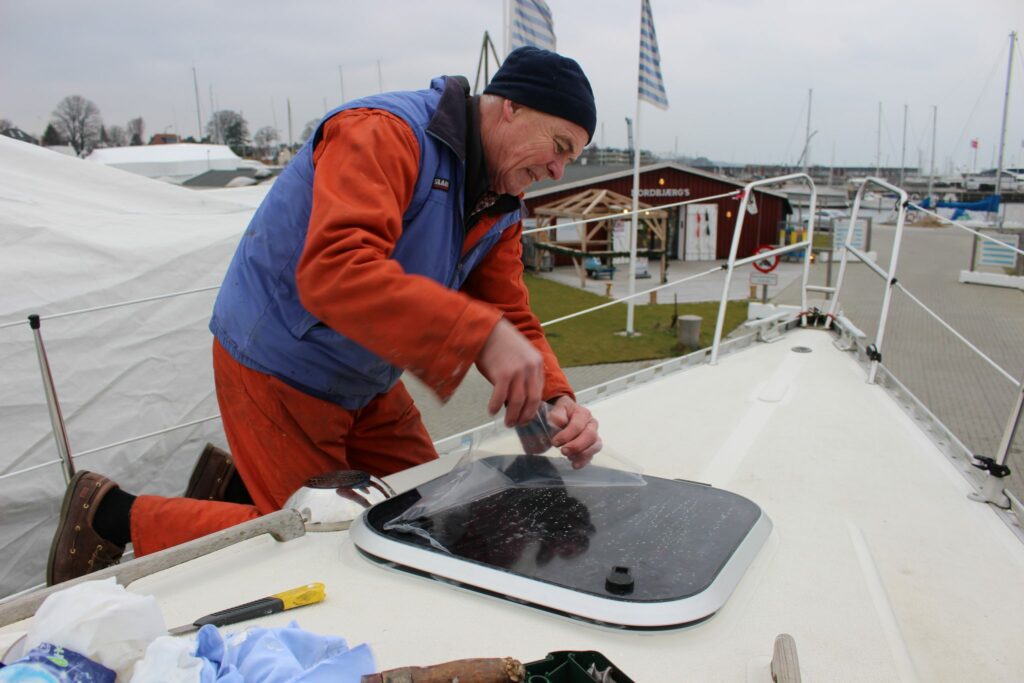
Take away the protective film on the glass.